DIY Keychain
Easy, cute & simple DIY car keychain. Keep reading below to find out how to make it.
Are You Looking For a Small Thoughtful Gift For a Loved One? These DIY Keychains are the Perfect Gift!
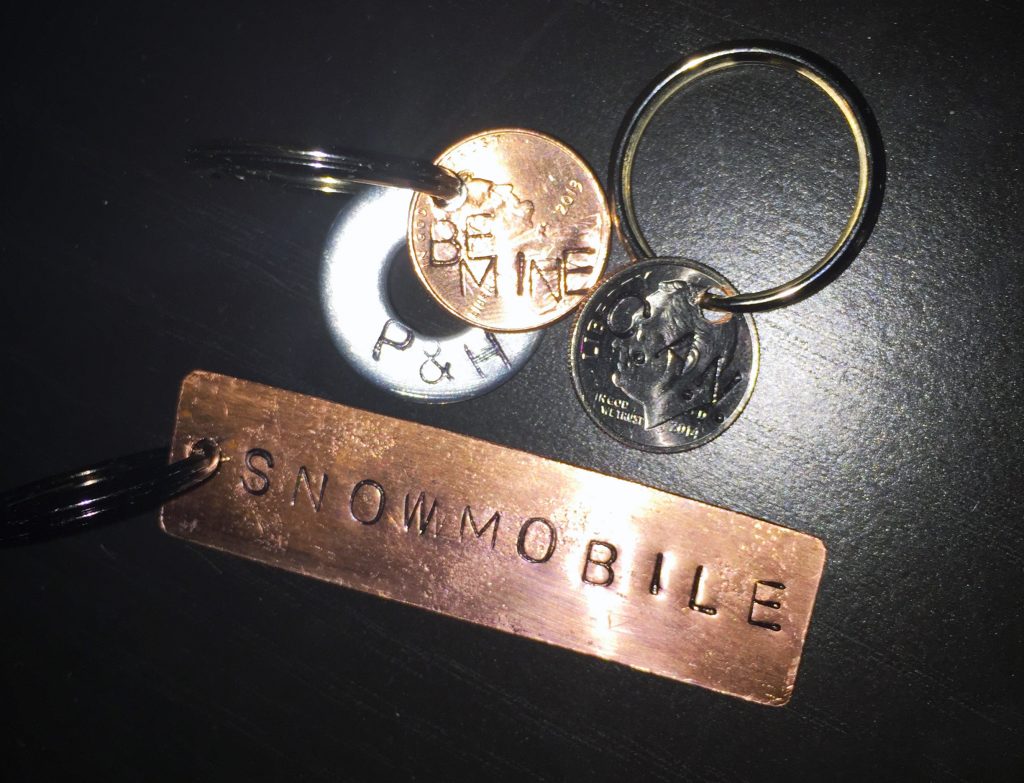
Grab a coin that has a significant year to make it even more meaningful, like we did with our penny and dime! The penny was an anniversary year, and being a Valentine’s Day gift is the reason for placing “Be Mine,” but it could easily read the P & H like the washer behind it. As for the dime, that was the year someone passed away with their initials on it. This person always said that when you saw a dime it was from heaven, hence the dime.
You could also just use a piece of metal like we did for the snowmobile keychain. This was a more practical keychain to be able to label the key, but it could also be used to do a short saying since there is more surface area.
Either way, it is simple and easy to do!
Supplies You need
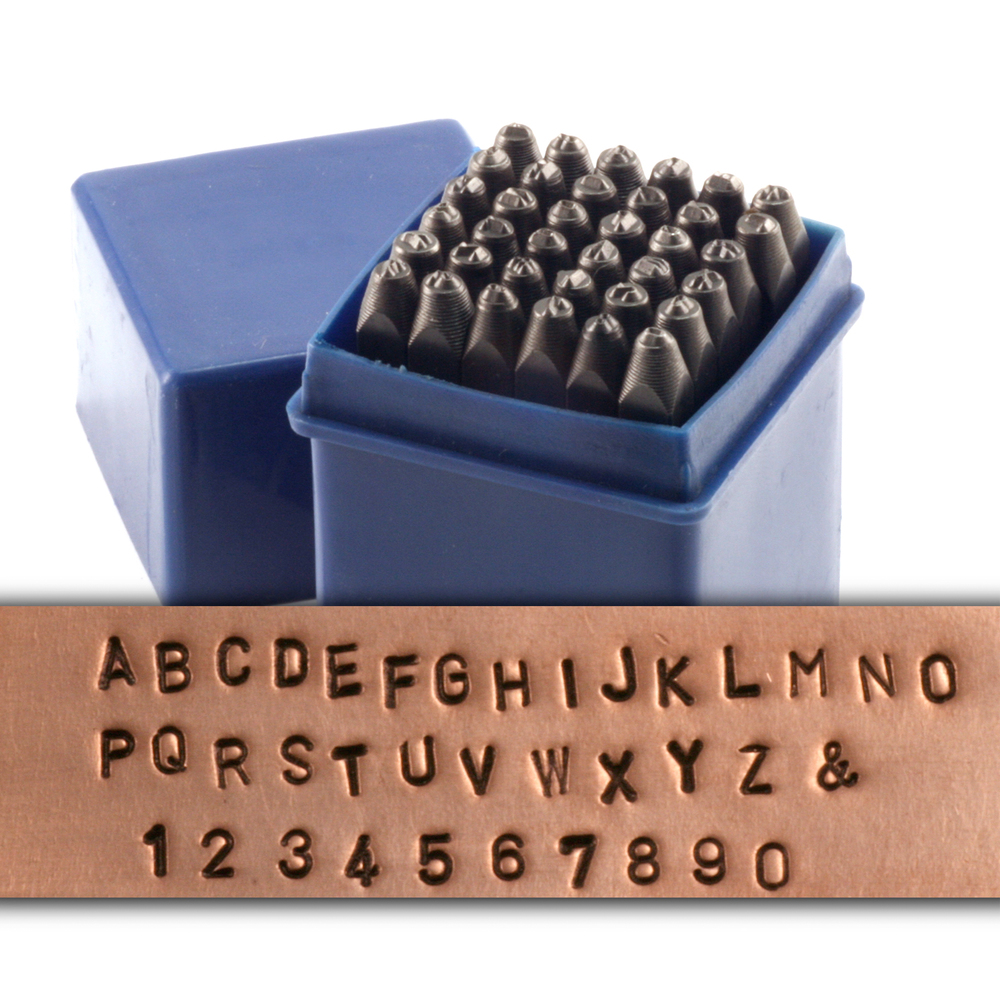
- Metal Stamps
We Purchased Ours From Home Depot, but You Can Purchase Them From Any Hardware Store or Online
- Keyring of Your Desired Size
- Some Sort of Metal That You Would Like to Stamp. This Could Be:
- Metal Stamp Disk Blanks
- Scrap Piece of Metal (Like We Did For the Snowmobile Keychain, Which Was a Piece of Copper)
- Change (Like Pennies or Dimes)
- Drill With Metal Drill Bit & Scrap Wood *Only If Your Metal Does Not Already Have A Hole*
- Black Paint or A Sharpie
- Cotton Ball and Nail Polish Remover if you Use Sharpie.
- Tape
- Hammer
How To Make the Keychain
- Take Your Piece of Metal And Tape It to the Ground, Having the Tape Towards the Bottom so You Can Use it as a Guideline to Keep Your Letters Straight. We recommend a Place Like a Concrete Garage Floor So You Will Not Need to Hammer Extremely Hard.
- Plan Out How to Fit Your Letters.
- Hold the First Letter or Number Metal Stamp up Straight. Making Sure it is Perpendicular to the Metal Keychain and the Symbol on the Stamp is Facing the Correct Way so When Transferred it is the Right Way.
- Using Your Other Hand Grab the Hammer and With a Quick Swift Movement Strike the Metal Stamp as if it Were a Nail. You Should be Left With the Indent. If You Did Not Hit Hard Enough You May Have to Hit it Again, But Be Careful to Place the Stamp in the Same Spot.
- Continue with Steps 3 & 4 For the Rest of the Letters or Date.
- If You are Using a Penny, Scrap Metal, or Something Else that Needs a Hole, Tape the Metal to a Piece of Scrap Wood.
- Place Drill on Metal Where You Desire the Keychain to Hang From.
- Drill into Metal, When You Hit Wood Hit the Reverse and Reverse Out of Wood and Metal.
- Color in Your Letters or Numbers With Either Black Paint or Sharpie.
- With Black Paint Glob it on and Quickly Wipe it Away. By Doing This the Paint Stays in the Engraved Part but is off the Metal Flat Part
- With a Sharpie Color in the Area. Take a Cotton Ball With Nail Polish Remover and Wipe Area. This Should Remove the Sharpie From the Flat Area and Leave it in the Engraved Areas.
- Take Keyring and Put it Through the Hole. You Now Have a Custom Keychain!