DIY Dog Car seat Cover
Protect your car seat from your beloved dog with this simple dog seat cover DIY!
Have you ever had to take your dog somewhere in your car and the moment they get in they are getting hair everywhere? It seems like the hair just clings to the seats. Then they are scratching the leather and falling in between the seats. You might be thinking, there must be an easier way, and you are right. Follow this simple dog seat cover DIY to keep your pooches happy and comfy.
Supplies You Need
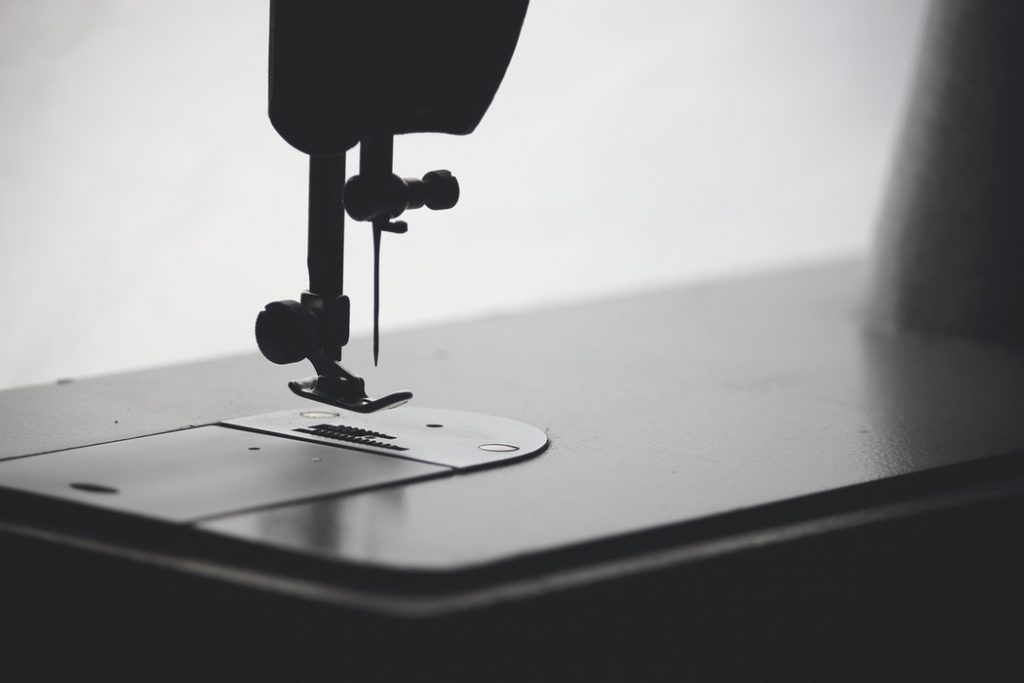
- Sewing Machine
- Thread That Matches Your Fabric Choice
- Pins
- Chalk or Washable Fabric Pen
- Ruler
- Fabric Scissors
- 4 Yards Duck Fabric (The Width Must be at Least 54″)
- Cotton Batting
- 4 One Inch Plastic Buckles
- 4 Yards of One Inch Cotton Strapping
Getting Started
You can measure the back of your car for the dimensions of the dog car seat to be perfect with your vehicle. Ours was made to fit the size of a small SUV, so if you would like to just use ours continue on. If you want the dog car seat fitting snug, measure the width of the seat and the length (going from the top of the front seat all the way down and back up to the top of the back seat). Then measure where the headrests sit on the width of the seat of the car. You are now ready to get started.
Making the Dog Seat Cover
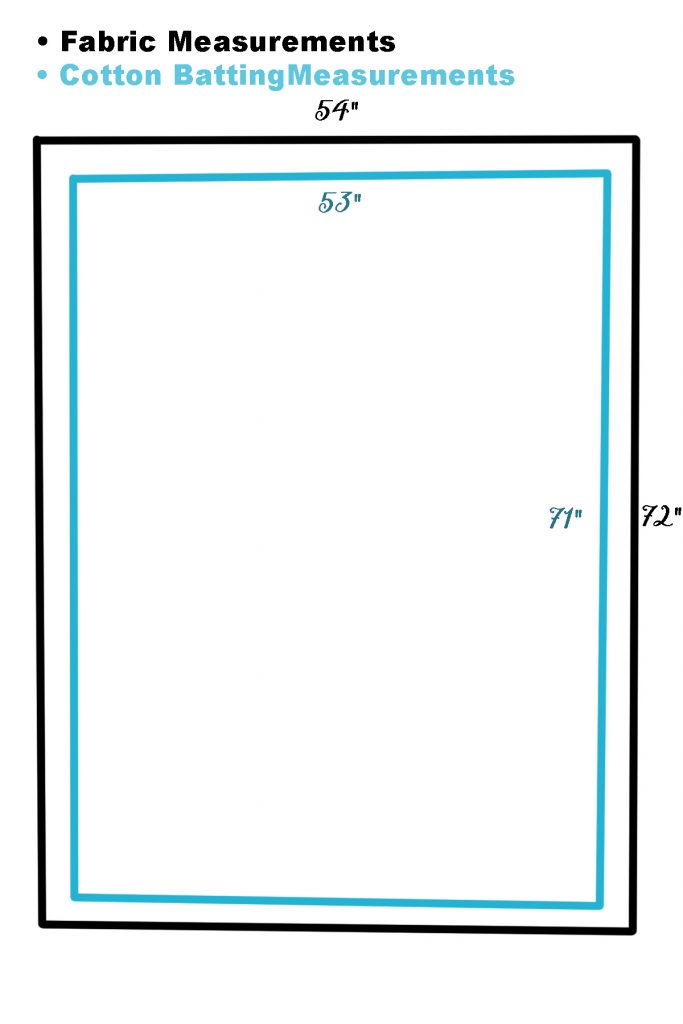
- Measure the 4 Yards of Fabric into 2 Pieces, Each Being 2 Yards, or follow the dimensions of your car making the length and width at least an inch longer on each side for sewing.
- Take the Chalk or Fabric Pen and Mark Your Dimensions on Your Fabric on the Wrong Side.
- Double Check the Measurements to Ensure that the Dimensions are Correct.
- Taking Your Scissors Cut the Fabric Following Your Lines You Made. If You Are Doing Your Own Dimensions Make Sure to Now Cut A Second Piece of Fabric the Same Size.
- Put to the Side and Repeat With the Cotton Batting, Making it 1″ Smaller on All Sizes Than Your Fabric. There Should Only be One Piece of Cotton Batting.
- Place One of Your Pieces of Fabric Right Side Down, Set the Cotton Batting on Top, and the Other Piece of Fabric on the Very Top With the Right Side Face Up. The Cotton Batting Should be Sandwiched in the Center.
- Fold the Edges a Half Inch and Then Fold it Again Making Sure the Raw Edge is Now Folded Inside No Longer Being Seen, And Pin in Place. Make Sure to Mitre the Corners. You Are Now Ready to Start Sewing Your Dog Seat Cover.
Sewing the Dog Seat Cover
- Get Out Your Sewing Machine to Start Sewing Your Dog Seat Cover and Thread it With Your Correct Thread.
- Place the Fabric on the Sewing Machine And Have a Straight Stitch Selected.
- Lining Up the Fabric Stitch Right on the 1/2″ to Keep Your Fold in Place. Don’t Forget to Lock in the Stitch.
- Proceed Sewing the Entire Cover, Following the 1/2″.
- With Our Cover Dimensions We Then Took it Out to Our Car to Pin the Straps Where Our Headrests Were. If You Did Your Own Dimensions, You Already Know Where They Lay And You Can Now Pin Them in Place. We Used 1 Yard of The Strap Per Headrest.
- Stitch Straps in Place Running it Back and Forth in the Sewing Machine a Few Times to Make Sure it was Sturdy.
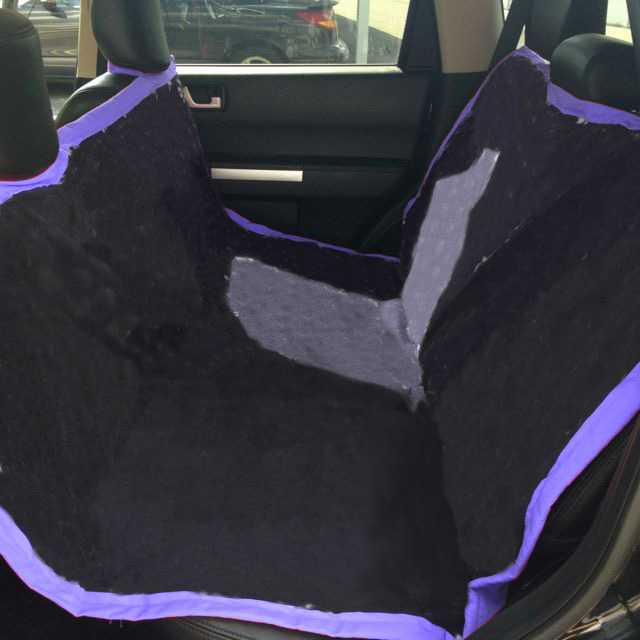
And That’s it! You Completed Your DIY Dog Seat Cover! You Now Have a Protected Seat and Your Dog Has a Comfy Ride.